
npx create-react-app projectName --template typescript타입스크립트를 사용하는 리액트 프로젝트를 생성
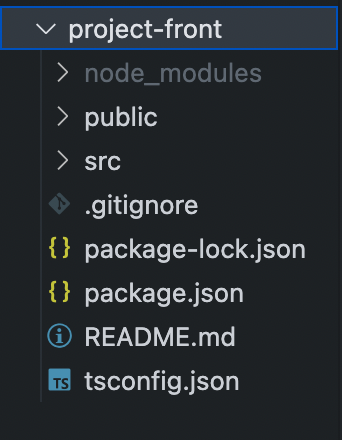
package.json 과 함께 기본 디렉토리 구조가 생선된다.
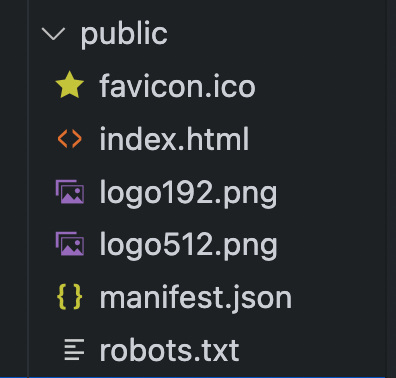
public경로 안데 index.html 파일을 볼 수 있다.
<!DOCTYPE html>
<html lang="en">
  <head>
    <!-- 구글 inter font -->
    <link rel="preconnect" href="https://fonts.googleapis.com">
    <link rel="preconnect" href="https://fonts.gstatic.com" crossorigin>
    <link href="https://fonts.googleapis.com/css2?family=Inter&display=swap" rel="stylesheet">

    <title>React App</title>
  </head>
  <body>
    <noscript>You need to enable JavaScript to run this app.</noscript>
    <div id="root"></div>
    <!--
      This HTML file is a template.
      If you open it directly in the browser, you will see an empty page.

      You can add webfonts, meta tags, or analytics to this file.
      The build step will place the bundled scripts into the <body> tag.

      To begin the development, run `npm start` or `yarn start`.
      To create a production bundle, use `npm run build` or `yarn build`.
    -->
  </body>
</html>
큰 내용 없는 html 파일이다.
중요한건 "root" id 를 달고 있는 div 태그이다.
이후에 살펴보겠지만 해당 요소에 리엑트 엘리먼트가 표시된다.
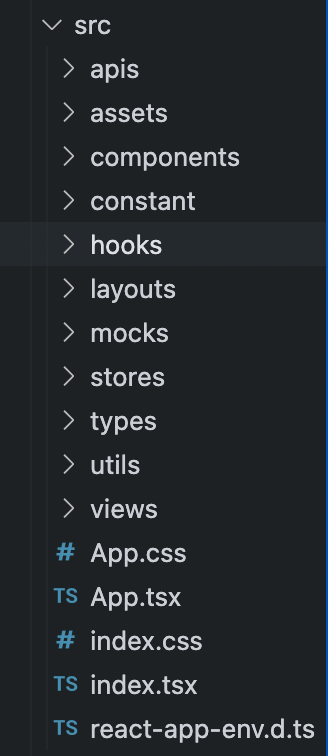
프로젝트 진행을 위한 디렉토리 구조이다.
index.tsx를 살펴보자
import React from 'react';
import ReactDOM from 'react-dom/client';
import './index.css';
import App from './App';
import { BrowserRouter } from 'react-router-dom';

const root = ReactDOM.createRoot(
  document.getElementById('root') as HTMLElement
);
root.render(
  <React.StrictMode>
    <BrowserRouter>
      <App />
    </BrowserRouter>
  </React.StrictMode>
);
React와 ReactDom을 import 해준다.
getElementById()를 통해서 아까 index.html의 <div id ="root"> 요소를 가져온다.
createRoot 함수는 공식 문서를 참고하면
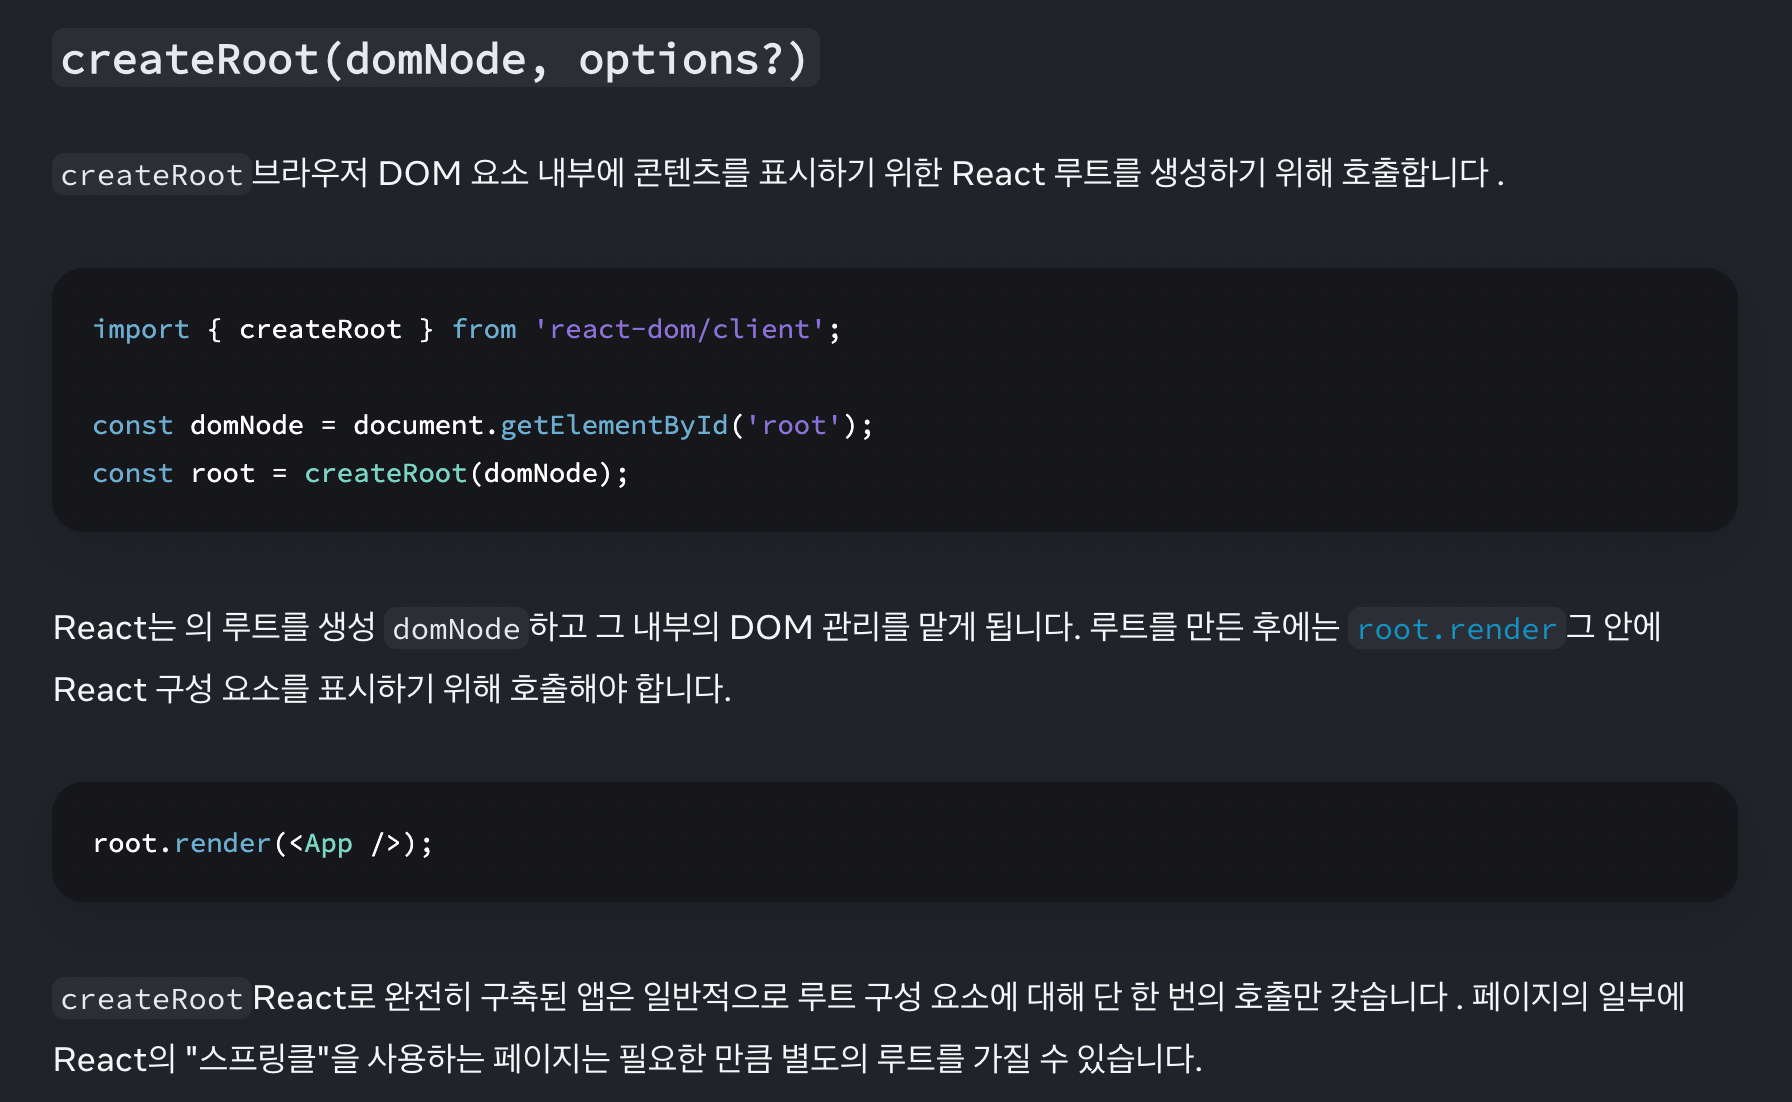
DOM 요소 내부에 콘텐츠를 표시하기 위한 React 루트를 생성한다.
간단히 말하자면 호출한 요소 자리에 랜더링 한다는 의미이다.
root.render 를 통해서 말이다. App.tsx를 import하여 랜더링 해주는 모습을 볼 수 있다.
즉, App.tsx에 화면에 나타날 컴포넌트들을 정의하면 되겠다.
App.tsx(예시)
//          component: Application 컴포넌트 			  //
function App() {
  return (
    <Routes>
      <Route element={<Container />}>
        <Route path={MAIN_PATH()} element={<Main />} / >
        <Route path={AUTH_PATH()} element={<Authentication />} / >
        <Route path={SEARCH_PATH(':searchWord')} element={<Search />} / >
        <Route path={USER_PATH(':userEmail')} element={<UserP />} / >
        <Route path={BOARD_PATH()}>
          <Route path={BOARD_WRITE_PATH()} element={<BoardWrite/>}/>
          <Route path={BOARD_DETAIL_PATH(':boardNumber')} element={<BoardDetail/>}/>
          <Route path={BOARD_UPDATE_PATH('boardNumber')} element={<BoardUpdate/>} />
        </Route>
      <Route path="*" element={<h1>Not Found</h1>} />
      </Route>
    </Routes>
  );
}

export default App;
컴포넌트를 표시하고 라우트를 설정해주었다.
이외 디렉토리는 내가 만든 디렉토리이다.
간단한 설명
apis - 서버 요청에 대한 메소드 및 path 정리
components - 리액트 컴포넌츠
layouts - header 와 footer를 포함한 컨테이너
types - dto와 props 등의 데이터 타입 선언
views - 각 페이지 view
'React' 카테고리의 다른 글
| Zustand 상태 관리 라이브러리 (0) | 2024.01.29 |
|---|---|
| React Router, Outlet (0) | 2024.01.29 |
| [블로그 프로젝트] forwardRef를 사용해서 Input 컴포넌트 만들기 (0) | 2024.01.27 |
| 리액트 Ref, state와의 차이 (0) | 2024.01.27 |
| [블로그 프로젝트] DTO 정의 (0) | 2024.01.14 |