const [fooBar, setFooBar] = useState()Ref는 Reference의 약자로 리액트에서 DOM 노드나 React 엘리먼트에 접근하는 방법을 제공한다.
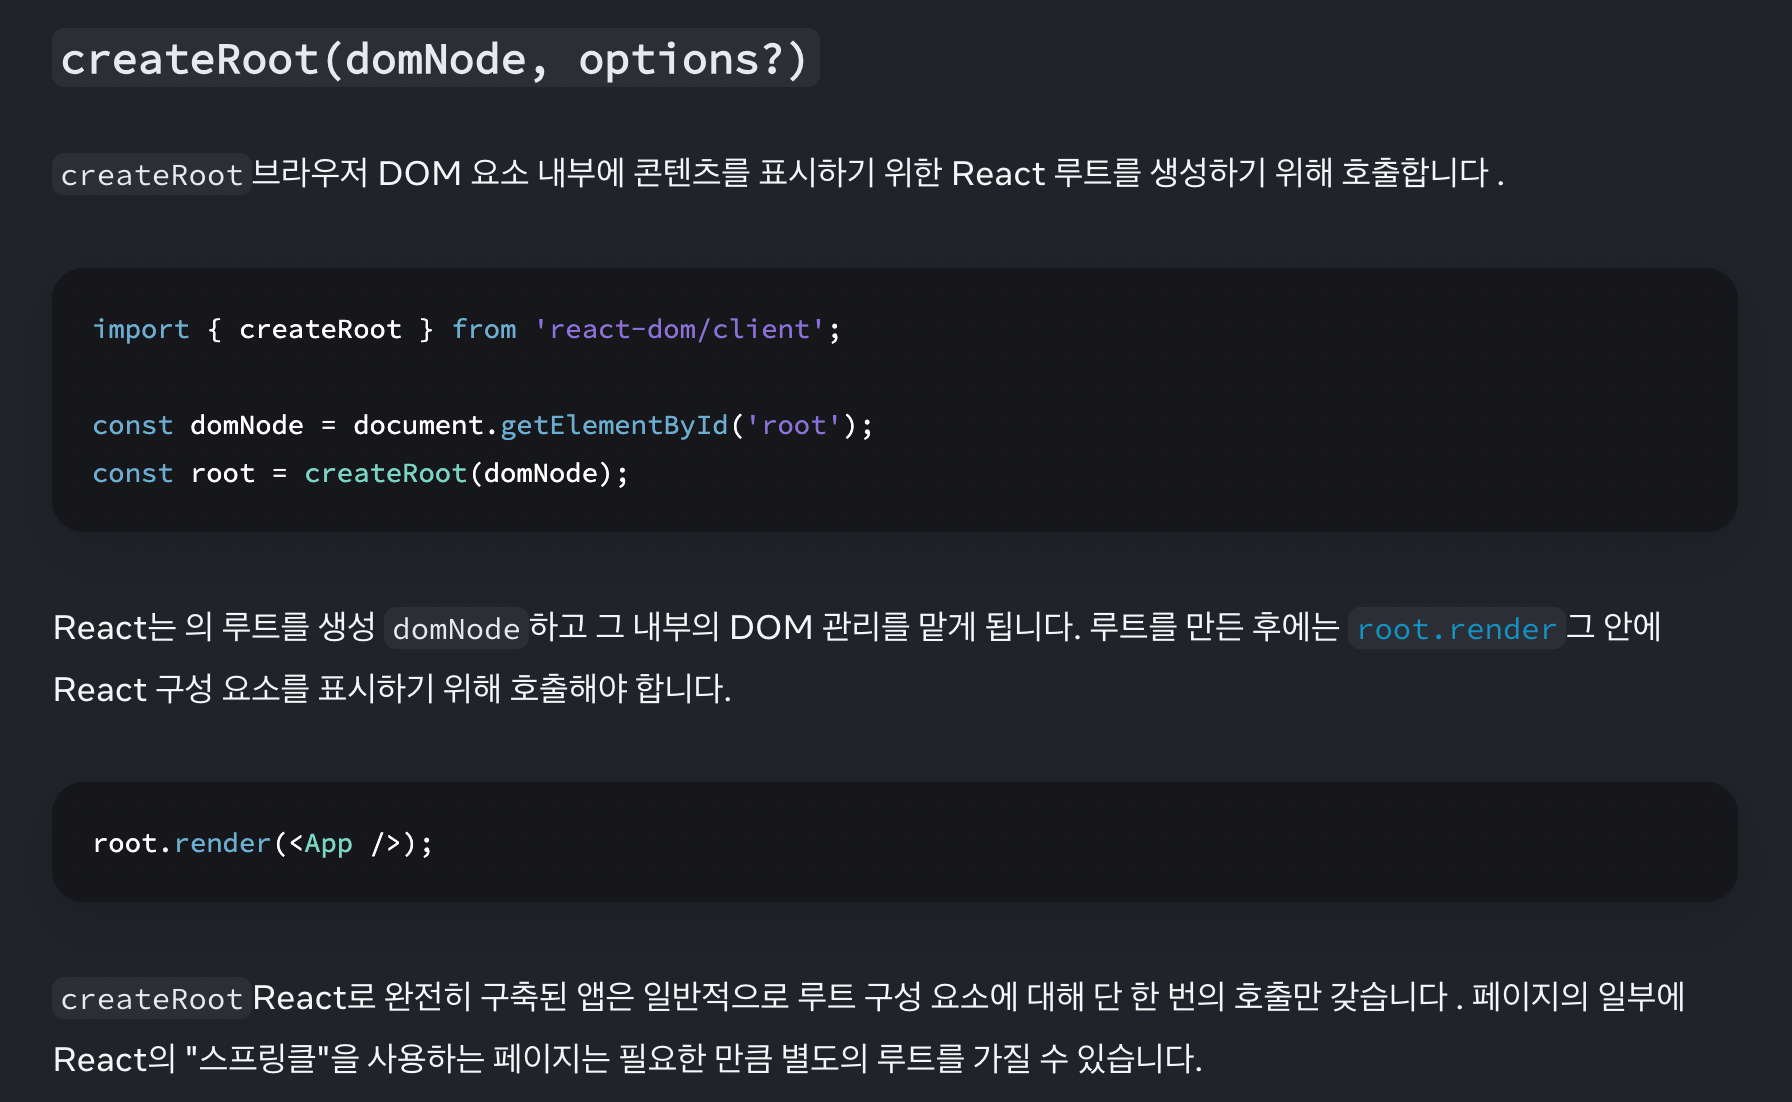
<div id='root'> 요소를 getElementById('root')로 DOM에 접근하는 것과 비슷한 역할을 한다.
import { useRef } from 'react';

const ref = useRef(0);
userRef 훅을 통해서 컴포넌트에 ref를 추가할 수 있다.
그리고 useRef는 다음과 같은 객체를 반환한다.
{
  current: 0 // The value you passed to useRef
}
current속성에 DOM 요소를 자바스크립트 객체로 받아온다.
current 속성을 통해서 ref의 현재 값에 액세스 할 수 있고, 읽기와 쓰기 모두 가능하다.
ref.current = ref.current + 1 같은 식으로 사용할 수 있는 것이다.
이 부분이 state 와의 차이점이다.
const [fooBar, setFooBar] = useState()위와 같이 set함수를 통해서 fooBar를 초기화시켜야 한다.
state의 사용 목적을 생각해보면 알 수 있다. state는 변화가 있을 때 랜더링을 해야하는 정보에 사용한다. 리액트는 state의 변화를 내부 값의 변화가 아닌 주소값이 이전과 달라졌을 때 감지한다. 때문에 set함수를 통해 초기화 하는 것이다.
그렇다면, 이 차이를 통해서 ref의 목적을 예상해볼 수 있겠다. ref는 변화가 발생하지만 새로운 랜더링을 하고싶지 않을 때 사용할 수 있다.
또한 state는 라이프사이클을 가지는 변수에 가깝고 ref는 위에서 말했듯 dom에 접근하기 위해 사용한다.

공식문서에서는 특정 정보를 '기억'하고싶지만 새로운 랜더링을 촉발하지 않도록 할 때 ref의 사용을 권한다.
import React, { useRef, KeyboardEvent } from 'react';

    const App = () => {
      const passwordRef = useRef<HTMLInputElement>(null);

      const onKeyDownHandler = (event: KeyboardEvent<HTMLInputElement>) => {
        if (event.key === 'Enter') {
          passwordRef.current?.focus();
        }
      };

      return (
        <div>
          <input placeholder="아이디 입력" onKeyDown={onKeyDownHandler} />
          <input ref={passwordRef} placeholder="비밀번호 입력" />
        </div>
      );
    };

export default App;
많이 사용하는, 로그인 창에서 엔터키를 눌렀을 때 비밀번호 입력 요소로 마우스 포커스가 이동하는 예시 코드이다.
다음 글에서 로그인창, 검색창 등에 사용할 Input 컴포넌트를 생성하면서 ref와 forwardRef를 사용해서 만들어보자.
'React' 카테고리의 다른 글
| Zustand 상태 관리 라이브러리 (0) | 2024.01.29 |
|---|---|
| React Router, Outlet (0) | 2024.01.29 |
| [블로그 프로젝트] forwardRef를 사용해서 Input 컴포넌트 만들기 (0) | 2024.01.27 |
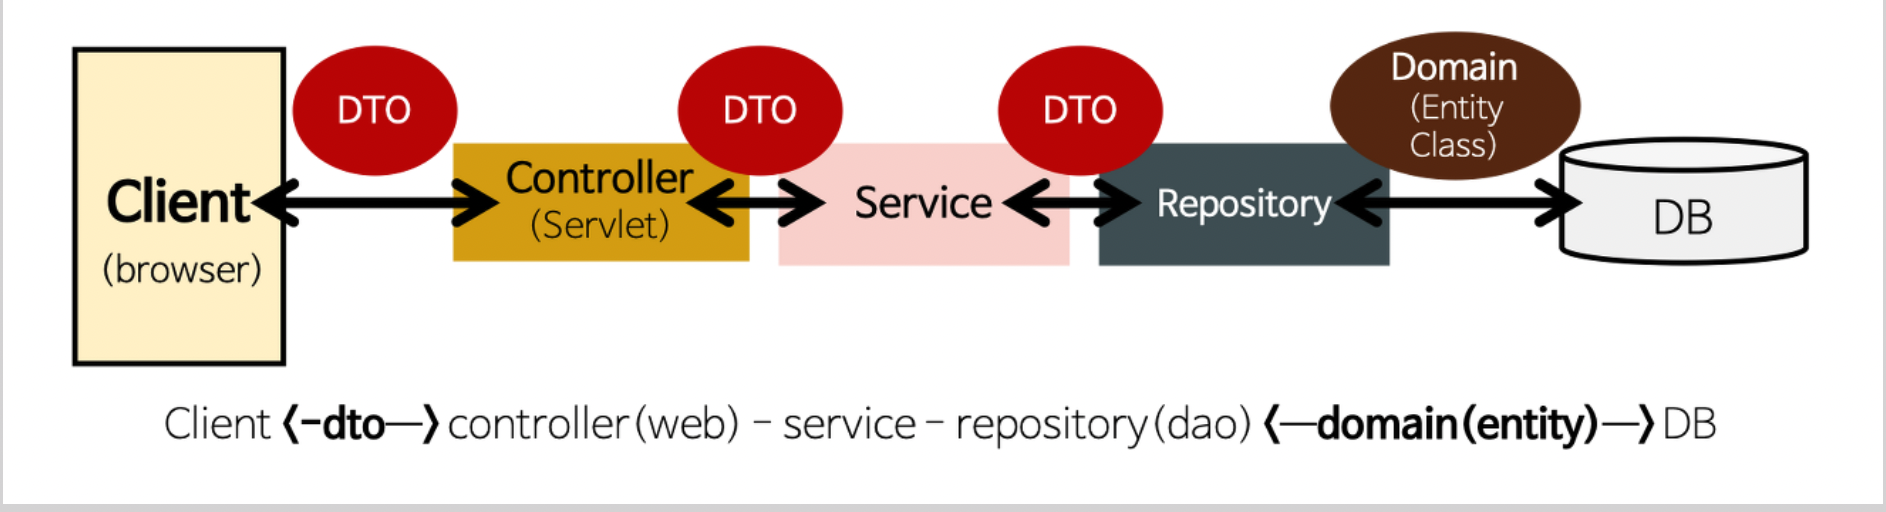
| [블로그 프로젝트] DTO 정의 (0) | 2024.01.14 |
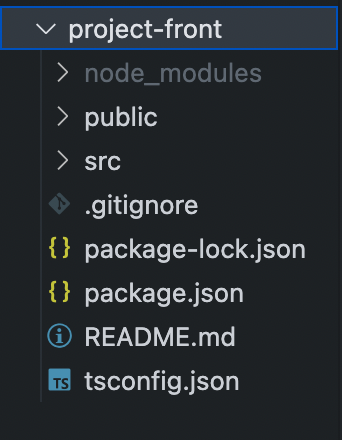
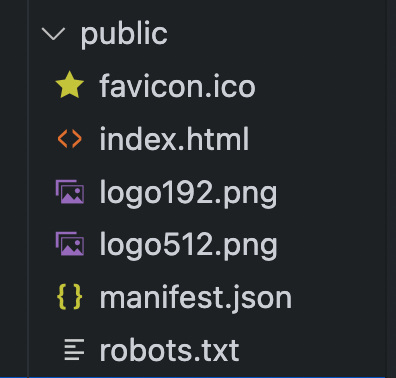
| [블로그 프로젝트] 리액트(타입스크립트) 프로젝트 생성, index.html, App.tsx, index.tsx (0) | 2024.01.12 |